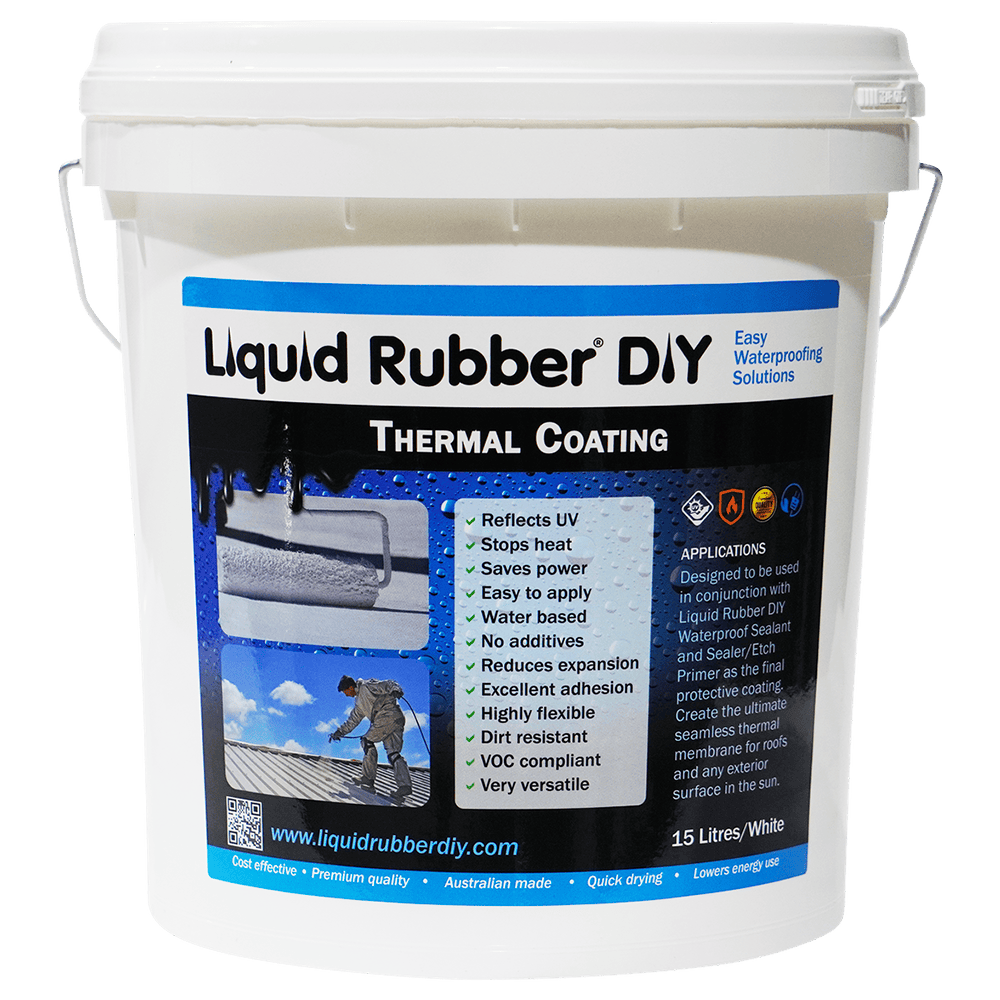
Understanding Liquid Rubber DIY Thermal Coating and Its ApplicationUpdated 9 months ago
The Liquid Rubber DIY Thermal Coating is a highly effective, heat-reflective, and UV-resistant solution for reducing heat transfer and protecting surfaces from weather damage. It is ideal for roofs, shipping containers, and exposed areas that endure high temperatures and harsh environmental conditions. This article will guide you through understanding the product and how to apply it correctly for the best results.
01 - What Makes Our Thermal Coating Unique?
- Heat Reflection: Significantly reduces heat transfer by reflecting sunlight.
- UV Resistance: Protects surfaces from sun damage and extends their lifespan.
- Versatile Applications: Perfect for metal roofs, shipping containers, waterproofed surfaces, and more.
- Creates a Durable Finish: Provides a clean, aesthetically pleasing white finish that protects underlying surfaces.
02 - When to Use Thermal Coating
- To reduce heat buildup on surfaces exposed to direct sunlight.
- To enhance UV protection and prevent surface degradation.
- To create a clean, long-lasting finish over a black waterproof sealant.
03 - Application Guidelines for Thermal Coating
Step 1: Surface Preparation
Proper preparation ensures the coating adheres well and performs as intended:
For Uncoated Metal Roofs:
- Clean the surface thoroughly to remove dirt, grease, rust, and debris.
- Apply our Etch Primer with rust inhibitor properties to prevent corrosion and ensure the Thermal Coating adheres properly.
For Other Surfaces (e.g., previously coated, waterproofed):
- Remove loose material, dirt, and grease. Pressure washing may help achieve a clean surface.
- Ensure the surface is dry before moving to the next step.
Step 2: Primer Application
Before applying the Thermal Coating, it is crucial to apply our Primer/Sealer:
- The Primer/Sealer enhances adhesion and seals the surface to maximise the coating’s performance.
- On Waterproof Sealant: Apply the Primer/Sealer over the cured sealant (black) to ensure the Thermal Coating bonds properly.
Step 3: Applying Thermal Coating
- Stir the product well before application.
- Use a brush, roller, or spray equipment to apply the coating.
- Apply 2–3 coats, allowing each coat to dry thoroughly before applying the next. The total dry film thickness should be around 1.5mm–2mm for optimal performance.
- Ensure even coverage across the surface, especially around seams, edges, and penetrations.
04 - Additional Tips for Success
Weather Conditions: Apply in dry conditions with temperatures above 10°C and below 30°C. Avoid application during rain or high humidity.
- Maintenance: The Thermal Coating is durable, but periodic inspections and touch-ups can help maintain its effectiveness.
05 - Key Benefits Over Waterproof Sealant
The Liquid Rubber DIY Thermal Coating creates a smooth, white finish that not only protects surfaces but also provides an attractive look. When applied over the Liquid Rubber Waterproof Sealant, it:
- Reflects heat to keep surfaces cooler.
- Prevents UV degradation of the black sealant.
- Enhances the overall durability and lifespan of the system.
06 - Conclusion
The Liquid Rubber DIY Thermal Coating is a versatile, easy-to-apply product that offers excellent heat reflection, UV protection, and weather resistance. Whether you're coating a metal roof, finishing a waterproofed surface, or protecting your outdoor spaces, it delivers long-lasting performance and a clean, white finish.
If you have any questions or need assistance, feel free to contact our support team—we’re here to help!