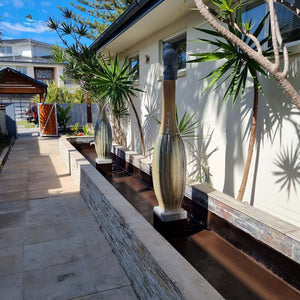
How to Waterproof Leaky A Pond / Water FeatureUpdated 9 months ago
Pond and Water Feature Waterproofing Guide
Protect and enhance your pond or water feature with Liquid Rubber DIY products.
This guide provides simple, effective steps to ensure a durable, leak-proof surface that will last for years.

Why Waterproof Your Pond or Water Feature?
- Prevent Leaks: Seals cracks, holes, and other vulnerabilities.
- Protect Against Damage: Shields surfaces from water-induced erosion.
- Maintain Aesthetic Appeal: Keeps your pond or water feature looking clean and well-maintained.
What You’ll Need
Before starting, gather these tools and materials:
- Liquid Rubber DIY Waterproof Sealant
- Geo-Textile: For reinforcing cracks, corners, and joints.
- Rapid Cure Spray (Optional): Speeds up curing time.
- Tough Coat (Optional): Available in four colors for a decorative finish.
- Grit (Optional): For added adhesion.
- Cleaning Tools: High-pressure water blaster and wet/dry vacuum.
- Application Tools: Brush, roller, or spray machine.
- Safety Gear: Gloves.
Step-by-Step Instructions
Prepare the Surface
- Wash or water-blast the entire surface to remove dirt, debris, or algae.
- Use a wet/dry vacuum to remove any remaining loose parts or remaining water. Ensure the surface is completely dry before proceeding.
Reinforce Vulnerable Areas
- Identify cracks, holes, corners, wall-floor joins or pipe outlets
- Apply Liquid Rubber Waterproof Sealant to these areas using a brush or roller.
- While the sealant is still wet, embed pre-cut Geo-Textile into the sealant, ensuring there are no wrinkles or air bubbles.
- Apply a second layer of Waterproof Sealant over the Geo-Textile for added durability.
Apply Two Coats of Waterproof Sealant to the Entire Surface
- Use a brush, roller, or spray machine to apply the first coat evenly across the entire pond or water feature.
- Allow the first coat to dry for 24 hours before applying a second coat.
- Aim for a dry-film thickness of 1.5 - 2mm (approximately 2 litres per square meter).
- Optional: Apply Tough Coat for a Colored Finish
- Before the final layer of Waterproof Sealant dries, evenly broadcast grit across the wet surface. This adds texture and ensures optimal adhesion between the Tough Coat and the Waterproof Sealant.
- Allow the surface to dry completely, then vacuum any remaining loose grit.
- Apply two coats of Tough Coat using a brush or roller. Tough Coat is available in four colors, providing a durable and decorative finish. Allow 24 hours of drying time between each coat for best results.
Cure Before Refilling
- Allow the Waterproof Sealant to cure for 7-10 days before refilling the pond or water feature with water. Longer curing times are recommended in colder weather.
Additional Tips
- Use Rapid Cure Spray to speed up curing time if needed.
- Waterproof Sealant may appear slightly brown when immersed in water; this is normal and does not affect its performance.
- Avoid applying products in temperatures below 10°C or above 32°C.